quality plasters logo
Home » Blogs » Interior Plaster Repair Guide: How to Repair Cracked Plaster Walls, Sagging Ceilings, & Water Damage

Interior Plaster Repair Guide: How to Repair Cracked Plaster Walls, Sagging Ceilings, & Water Damage

How to Repair Cracked Plaster Walls

Spotted a crack creeping across your wall, a brown stain on the ceiling, or a section that’s starting to sag? You’re not alone. Cracked plaster walls are one of the most common calls we get from homeowners, builders, and businesses across Auckland.

Some cracks are nothing to worry about. Others mean something’s moved behind the surface. This guide covers why plaster walls crack, how to patch plaster cracks yourself, and when it’s worth calling in a professional instead of reaching for the filler a second time.

Why Do Plaster Walls Crack?

Why do plaster walls crack? The answer usually comes down to movement, moisture, or both. The most common causes we see include:

  • Weather and temperature swings: Auckland’s mix of damp winters and drier summers causes plaster to expand and contract as it moves through the seasons.
  • Renovation and settling: New walls, extensions, or removed load-bearing walls shift how weight is distributed and can cause plaster wall cracks for a year or so afterwards.
  • Water leaks and humidity: A slow leak from a roof, shower, or pipe softens plaster and plasterboard from behind.
  • Dry indoor air: Heat pumps dry plaster out faster than it would otherwise.
  • Structural movement: Wide or long cracks, especially with nearby staining, can indicate subsidence or a leak.

Hairline Cracks in Plaster Walls vs Cracks Worth Worrying About

Not every crack means trouble, and it helps to know which kind you’re actually dealing with before deciding your next step:

  • Hairline cracks in plaster walls: Thin, straight, and usually caused by normal drying or settling. These are cosmetic and low-risk.
  • Cracks worth watching: Wider than a coin’s edge, diagonal, or running near doors and windows.
  • Cracks that need a professional immediately: Paired with bulging, staining, a hollow sound when you tap the wall, or doors and windows that have started sticking.

Most hairline cracks in plaster walls aren’t a sign of structural damage, but keep an eye on any that widen or run diagonally.

Not sure if a crack is growing? Lightly mark each end in pencil and date it. If it’s moved past your marks in a month or two, get it checked.

How to Repair Cracked Plaster Walls

If you’re dealing with a straightforward hairline crack, patching it yourself is realistic. Here’s how to repair cracked plaster walls when the damage is cosmetic.

How to Patch Plaster Cracks, Step by Step:

  1. Clear away any loose plaster and dust from the crack.
  2. Lightly dampen the area to help the new plaster bond properly.
  3. Apply plaster or a repair compound with a putty knife, working it into the crack.
  4. Let it cure fully before sanding back smooth. Rushing this step is one of the most common reasons DIY patches fail.
  5. For wider cracks, apply another coat once the first has dried.
  6. Sand smooth and prime before repainting.

A DIY patch can look fine on the day, but it won’t hold if you haven’t addressed the underlying cause, whether that’s moisture, movement, or a heat pump drying the air. That’s why painting over cracks rarely lasts.

How to Repair Plasterboard Wall Dents and Holes

Most Auckland homes are lined with plasterboard, so knowing how to repair plasterboard wall damage covers most everyday knocks.

  • Popped screws: Drive a new screw just beside the popped one, then fill, sand, and paint.
  • Small holes: Fit a backing piece behind the hole, then apply two or three thin coats, feathering the edges out.
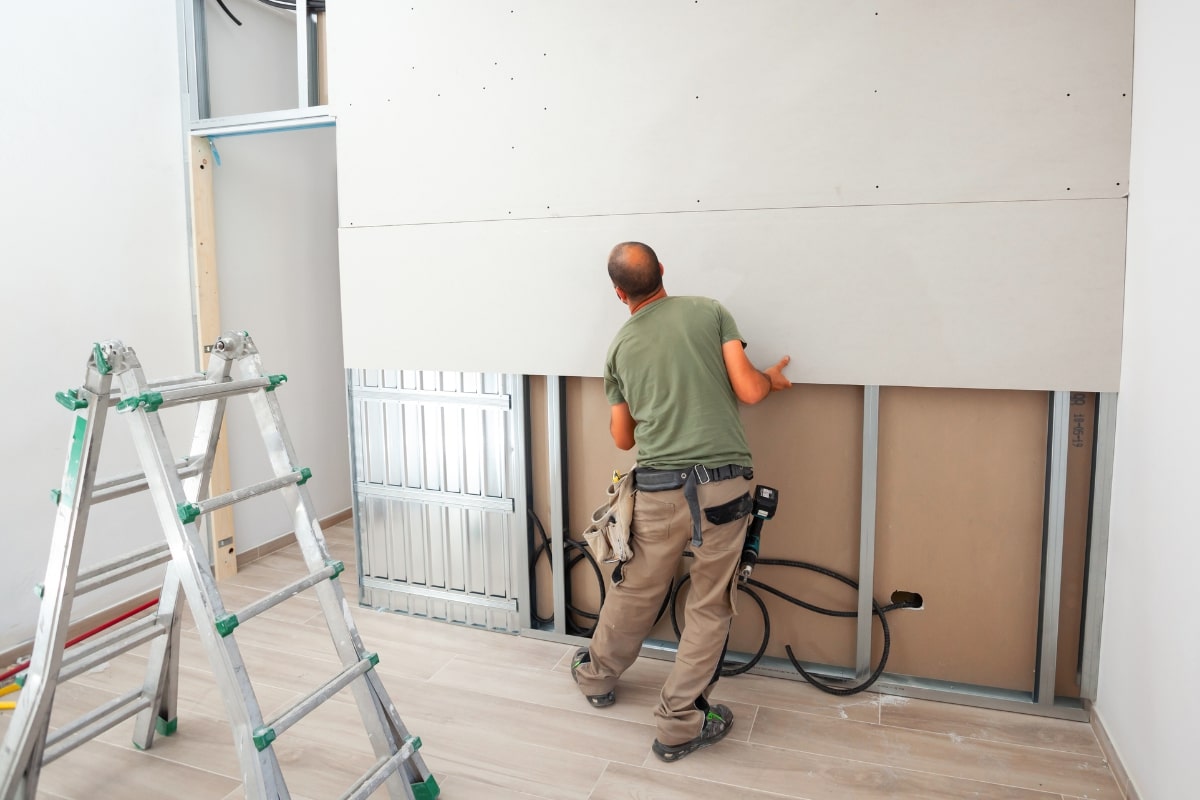
  • Large holes: Cut back to the nearest studs, screw in a new piece of plasterboard, then tape, stop, and sand.

The finish is where most DIY repairs show, especially under side light from a window. Our guide to getting a smooth, professional finish with plasterboard covers everything you need to know. If a wall has years of old patches, a skim coat across the whole wall is often the better fix.

How to Fix a Sagging Ceiling

A sagging ceiling is more than an eyesore. It can be a safety hazard. Sagging usually comes from fixings that have let go, a leak soaking the insulation above, or ageing board.

Here’s how to fix a sagging ceiling, depending on how bad it is.

  • Slight sag with dry, firm board: Prop the board back up, add adhesive to the joists, and re-screw along each one.
  • Soft, cracked, or badly bowed board: Cut out the damaged section back to the joists and replace it with new plasterboard.

Never stand directly under a sagging section while you’re at work. If your home was built before 2000, WorkSafe advises it may contain asbestos, so have the ceiling tested before you cut into it.

Dampness and Leaks: How to Repair Water-Damaged Plasterboard Ceiling Areas

Moisture is one of the most damaging problems for Auckland homes. If you want to know how to repair water-damaged plasterboard ceiling areas, start with the leak, not the plaster. Here’s how to approach it:

  1. Find and fix the source of the leak.
  2. Let the ceiling cavity dry out fully, since mould can grow behind board that’s been sealed up while wet.
  3. Press-test the board. If it’s dry and firm, it can usually be patched, but soft, sagging, or crumbling board has to come out.
  4. Replace failed sections, then tape, stop, and skim the joins flush.
  5. Apply a stain-blocking undercoat before painting, as water stains bleed through ordinary ceiling paint.

Some plasterboard also helps brace your house, and MBIE’s plasterboard repair guidance notes that work on some walls may need building consent.

Why You Shouldn’t Put Off Plaster Repairs

When you notice cracked, broken, and sagging plaster around your home, you may think, “That can wait till next month”. But then next month becomes next year, and it may never get fixed.

Small cracks widen, stains spread, and moisture can reach the timber framing. And when you eventually decide to fix your plaster, it could cost you more than if you’d fixed it as soon as you noticed the damage.

When to Call a Plasterer

DIY repairs have their place, but there are times when calling in a professional is the best option:

  • The crack keeps coming back after filling.
  • You’re seeing signs of structural movement.
  • The board is soft, stained, or sagging after a leak.
  • You want a finish that matches the surrounding wall, not just a patch that’s “good enough”.

We’re licensed applicators with 25 years of experience working on homes and businesses across Auckland. Here’s what we will do:

  • An inspection to check whether the cause is drying, moisture, or movement, since that determines the fix.
  • Proper prep, including removing any loose or blown plaster rather than patching over it.
  • Patching and finishing that’s matched to the surrounding texture, so it doesn’t stand out once it’s painted.
  • A realistic timeframe up front, so you know what to expect before we start.

If you’re dealing with more than one of these problems, it’s worth looking into our residential plastering services rather than another round of DIY filler.

What Affects Plaster Repair Cost and Timeframe

Cost and time depend on how many areas are damaged, whether it’s a wall or ceiling, whether the board needs replacing, and whether the underlying cause needs to be sorted out first.

A single hairline crack might take an hour or two. A water-damaged ceiling will take longer, as the cavity needs to dry before the patch will actually hold. The only way to get an accurate figure for your specific repair is with a proper look at the wall. And that’s what our free, no-obligation quote is for.

Get Your Interior Plaster Repairs Sorted

Whether it’s a hairline crack or a sagging ceiling, a professional inspection can save you from redoing the same patch twice. We’re licensed applicators who show up when we say we will, and our pricing is competitive from the start. Get in touch or request a free quote, and we’ll tell you straight what your wall or ceiling actually needs.

Our Accreditations

Putz Technik plastering equipment and machinery logo
Resene paints and coatings logo
Waterproofing system by Technokolla New Zealand
Specialized Construction Products supplier logo

Give us a call today

For better service, better quality and better results!
quality plasters logo
Contact us

Have Any Questions?

Please contact a member of the Quality Plasterers team today to find out more about our services and to discuss your project. 
Contact Form

2024 | All Rights Reserved | Designed by
Numero construction materials brand logo